Adding CloudFlare to Web V8
This is a step by step guide on how to setup CloudFlare on your Web V8 hosted website.
This tutorial is suitable if you…
- Have a CloudFlare account and need to add your website to it
- Want to control your DNS from your Web V8 hosting panel
- Are a reseller looking to control multiple Cloudflare accounts
- Are hosting your website on Web V8
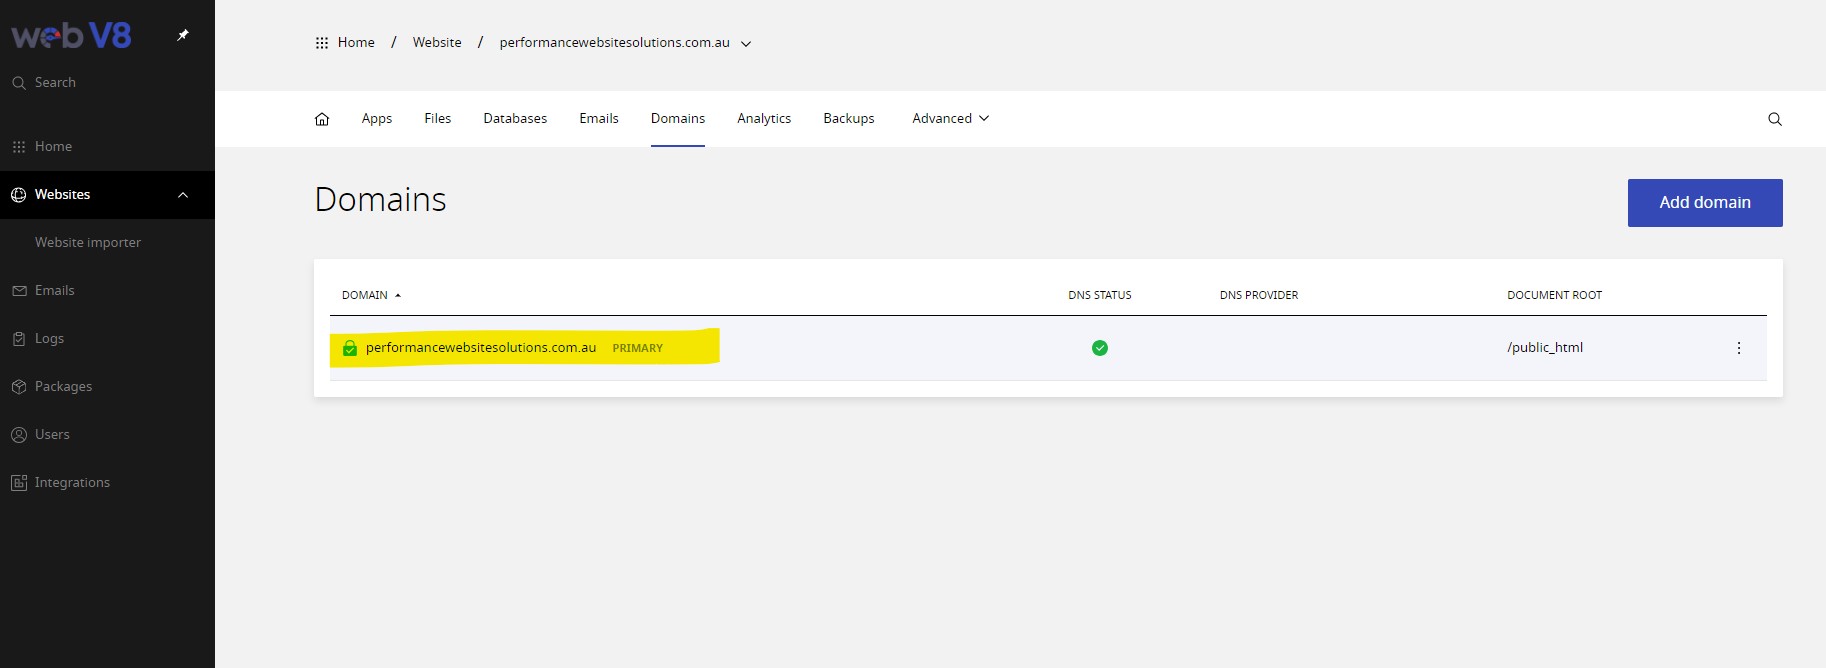
- Purchased your domain on Web V8
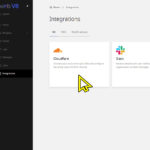
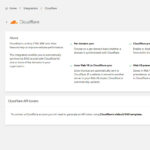
Important Links
Click on the images to follow the steps
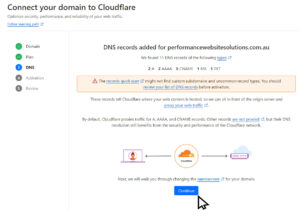
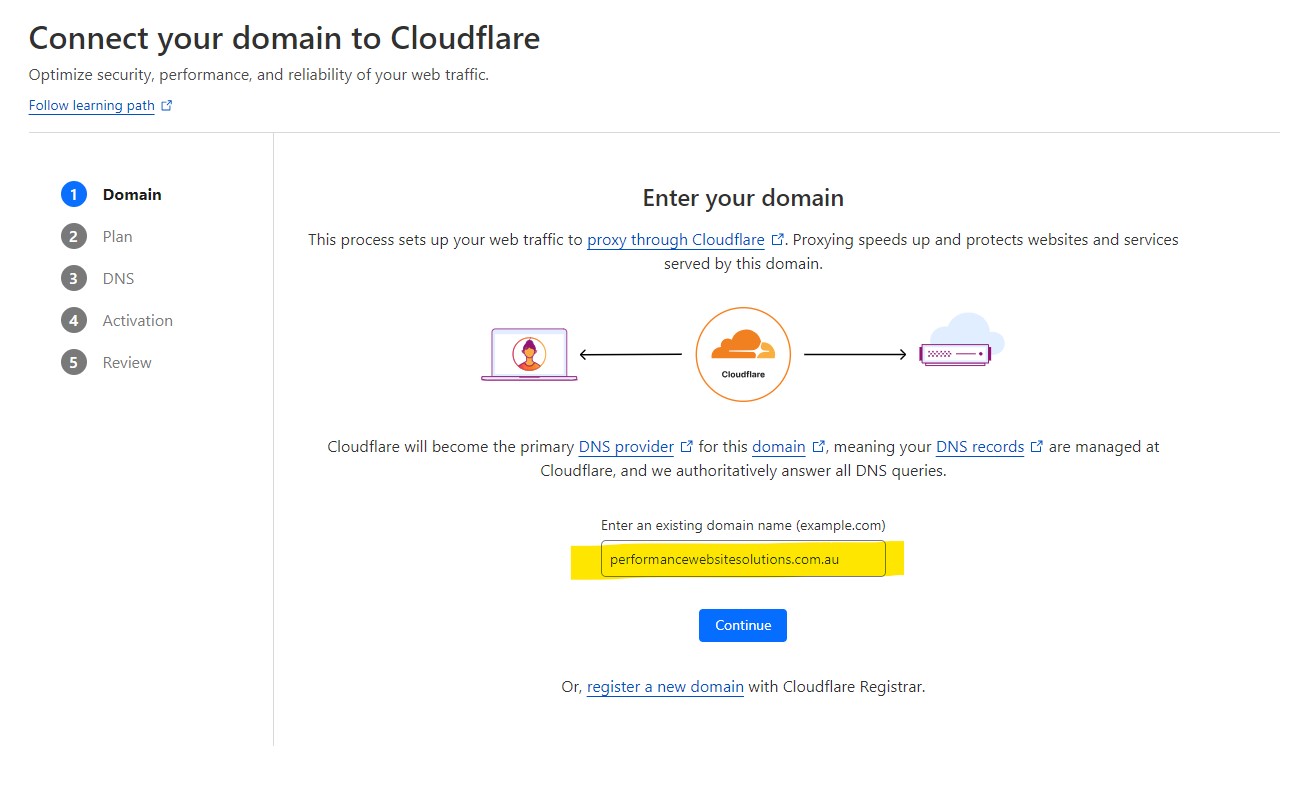
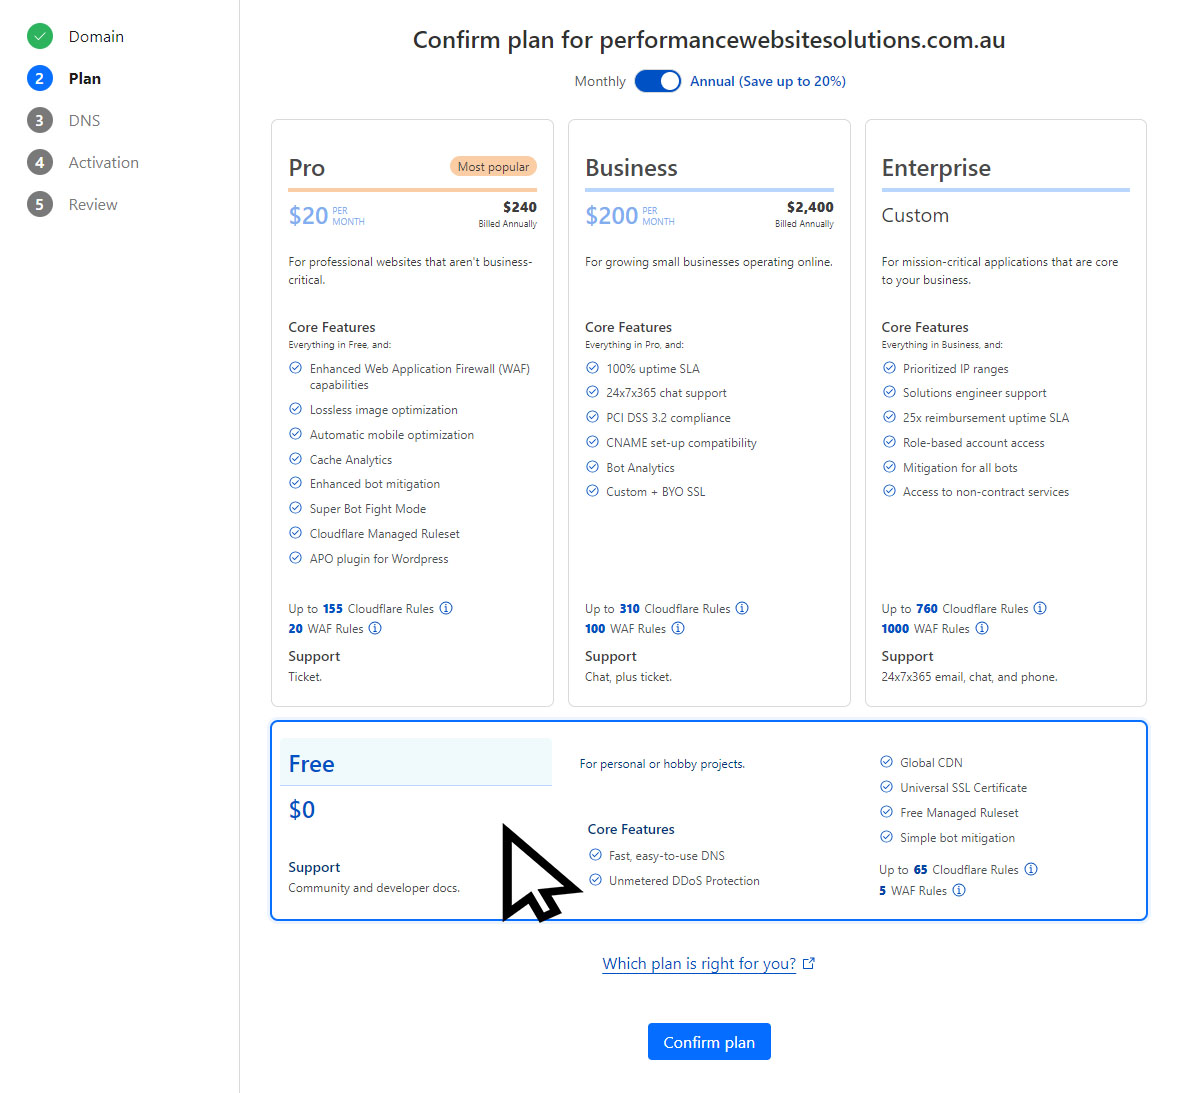
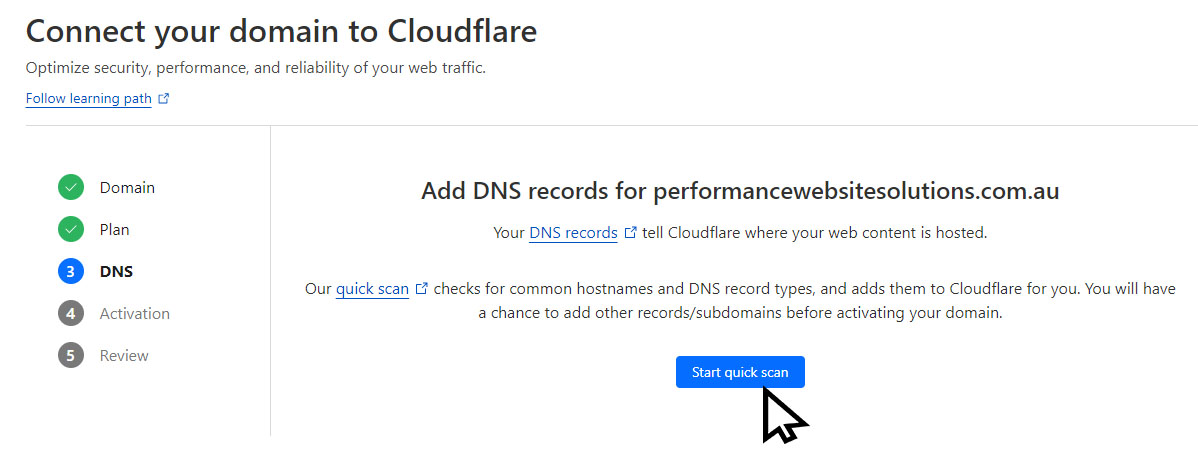
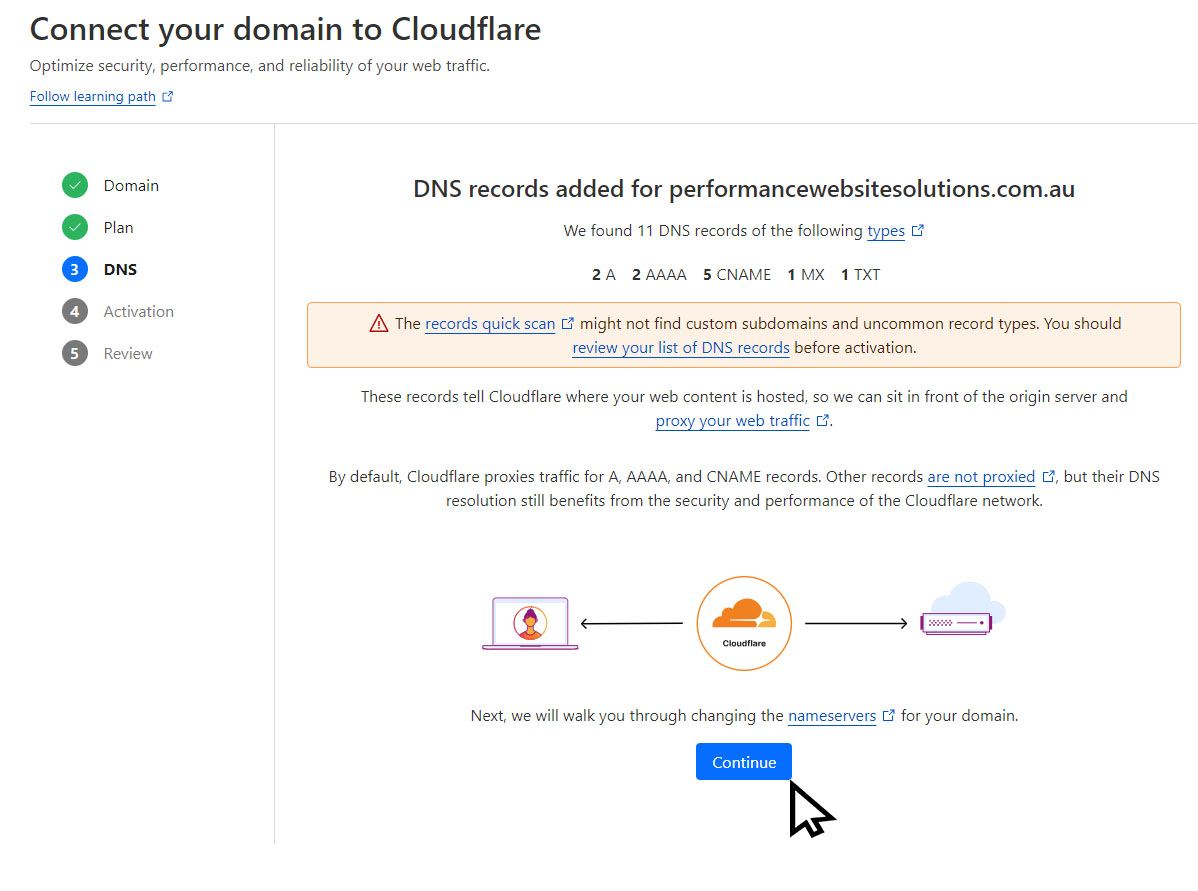
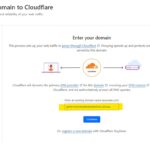
Step 1 – Add Domain to Cloudflare
If you do not have an account already, just hit register and follow the same steps.


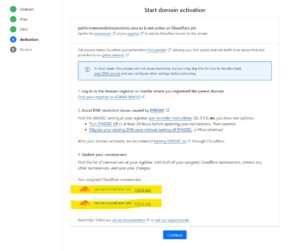

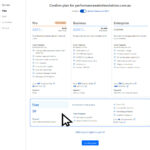
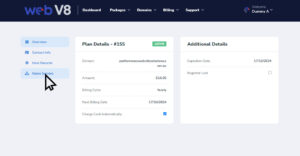
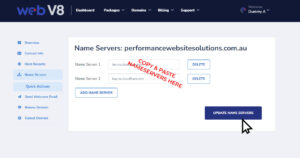
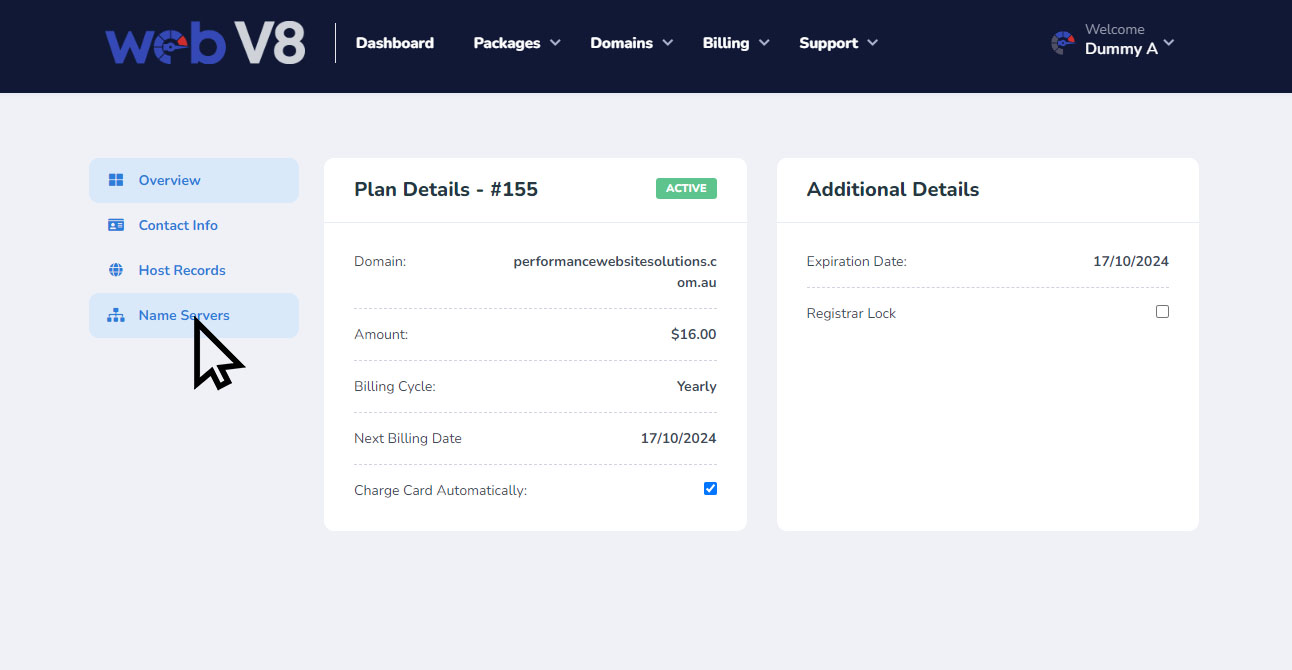
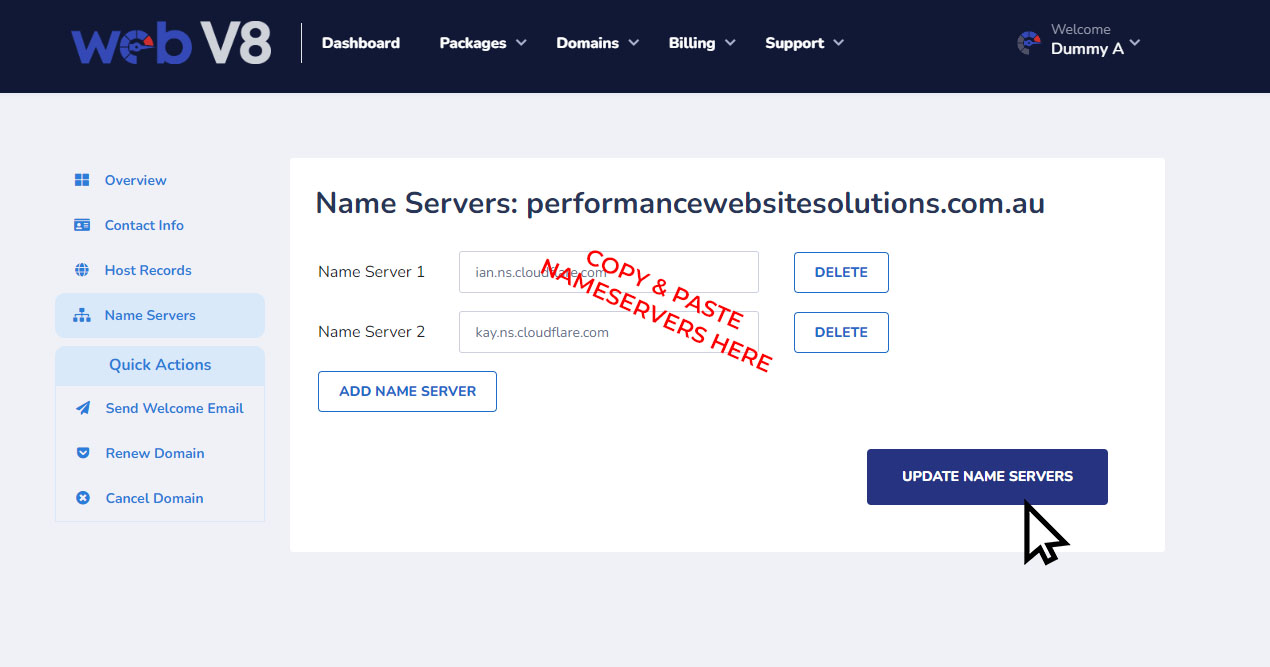
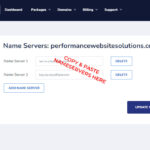
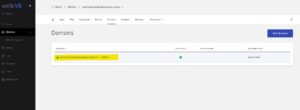
Step 2 – Update Your Nameservers
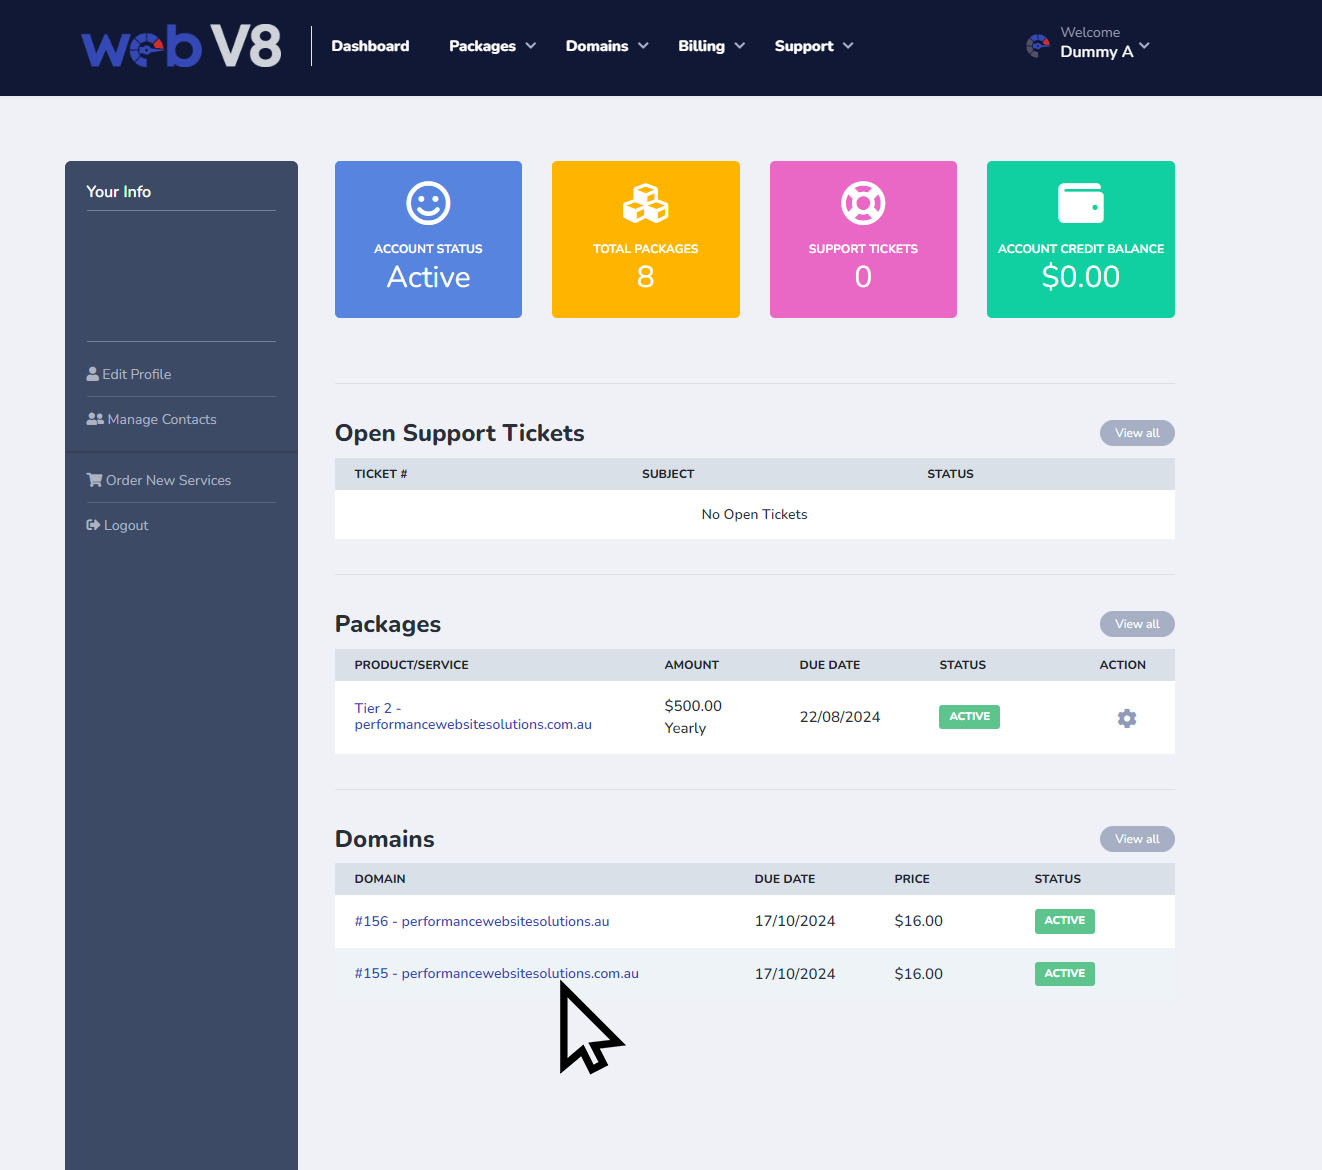
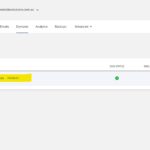
Login to your client portal here
Once you have logged into your Web V8 Client Portal follow these steps:

Are you using a different domain name registrar?
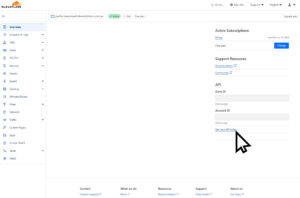
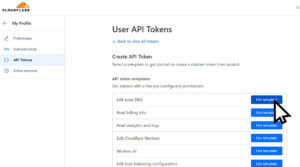
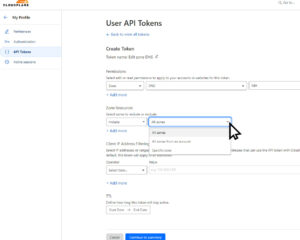
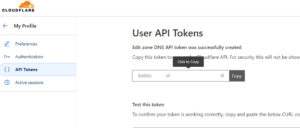
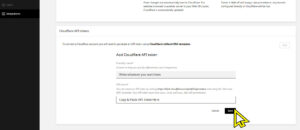
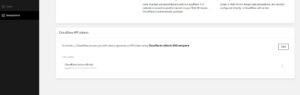
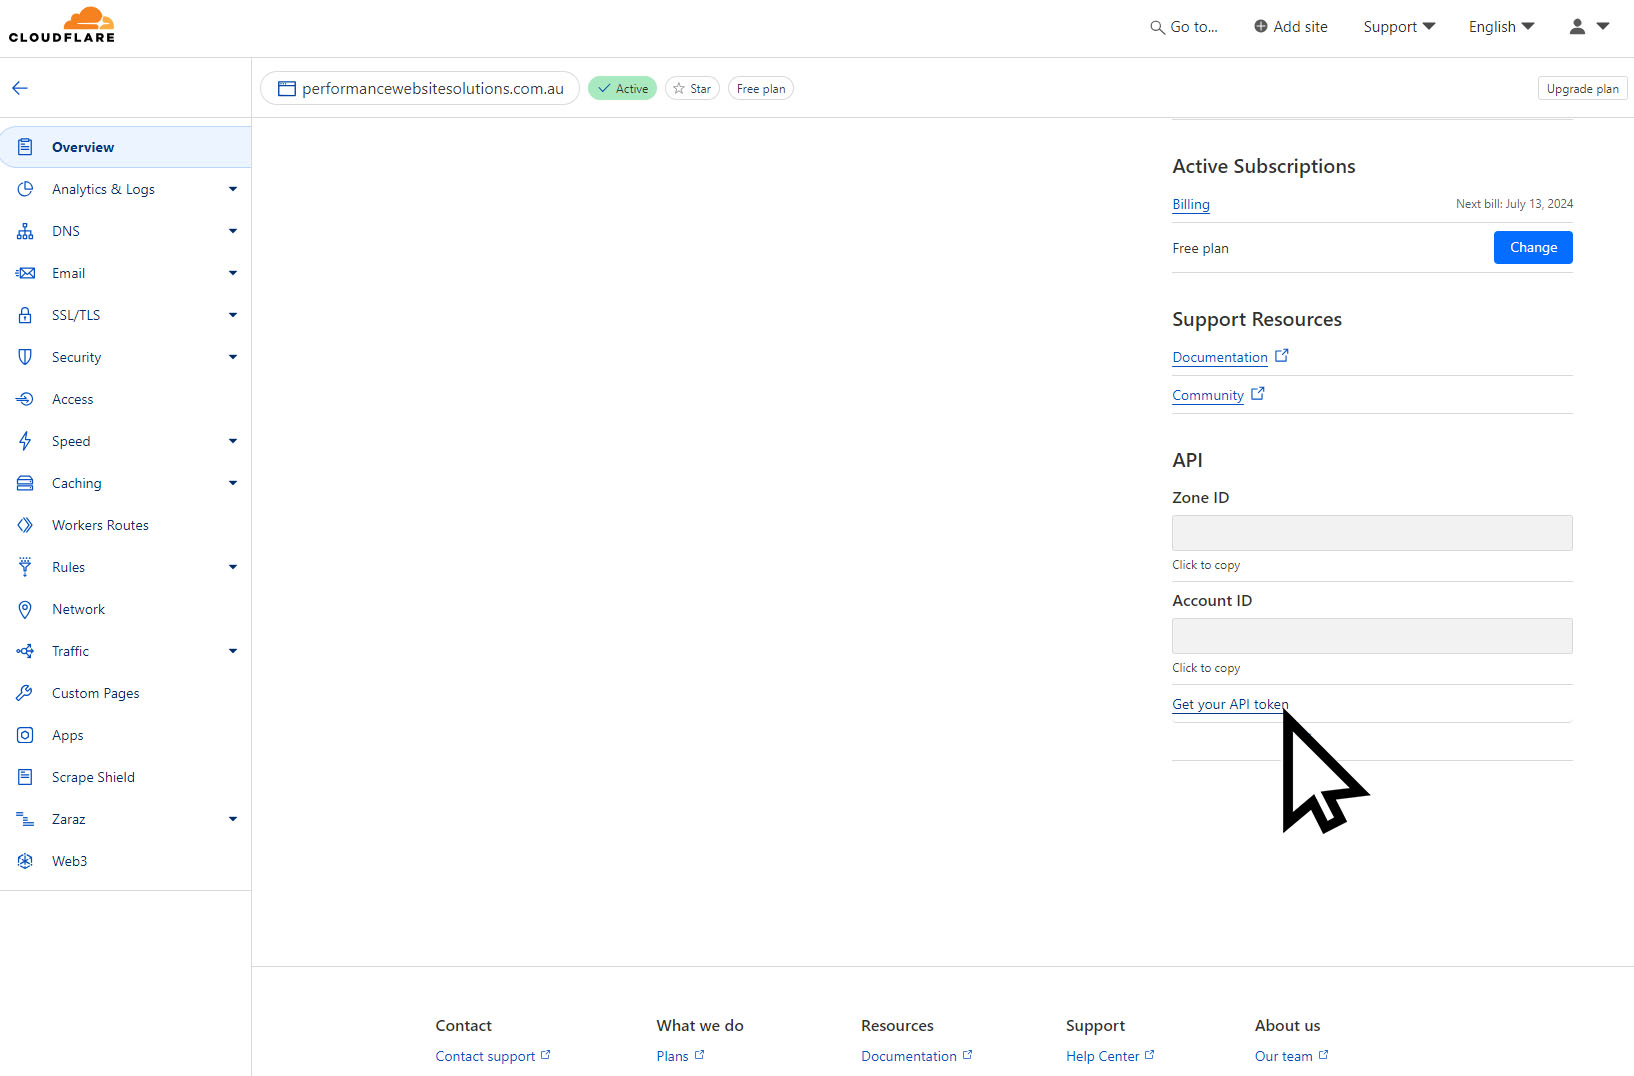
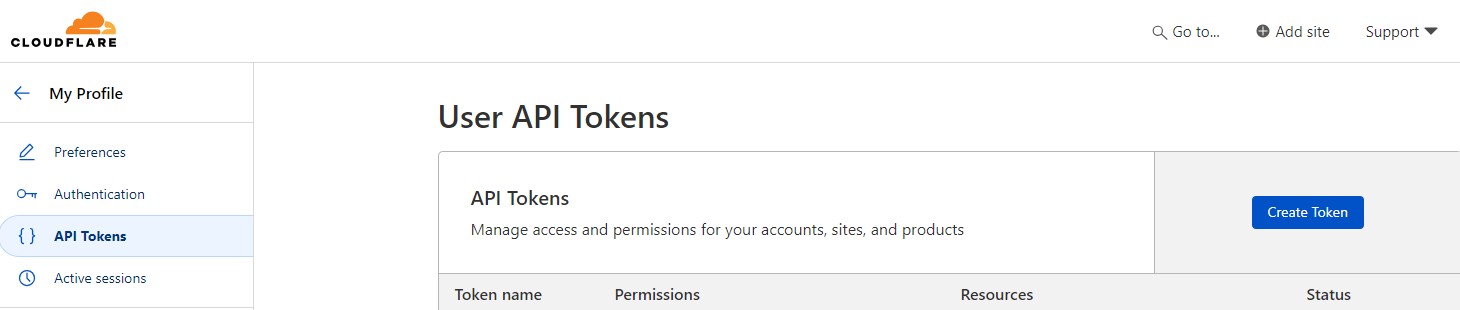
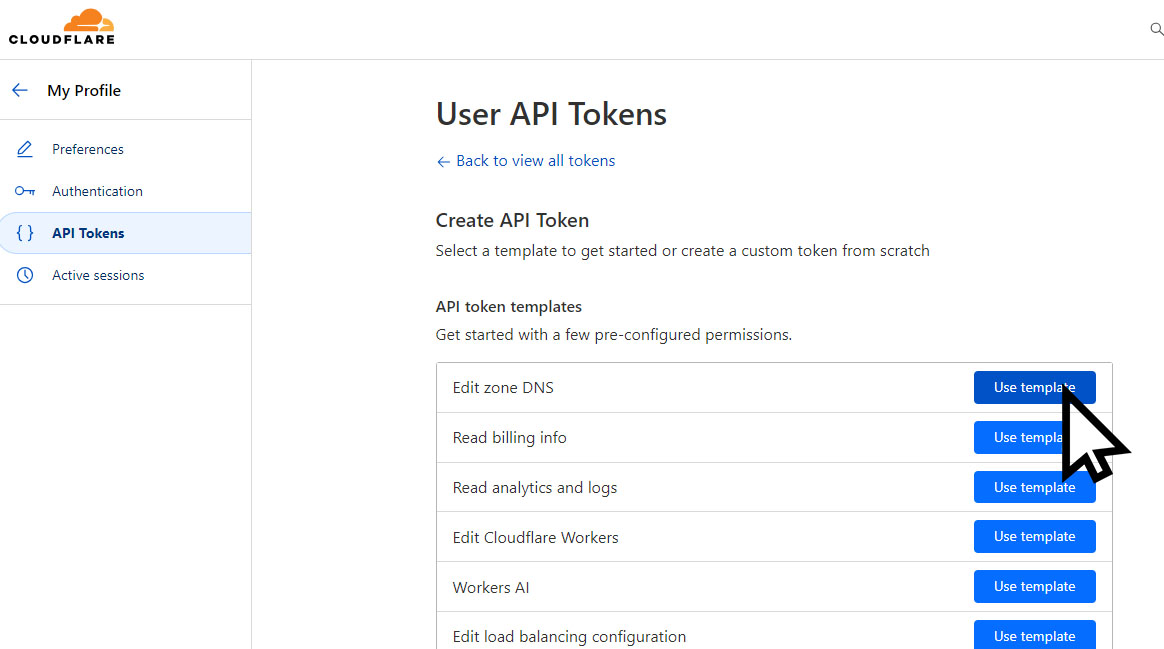
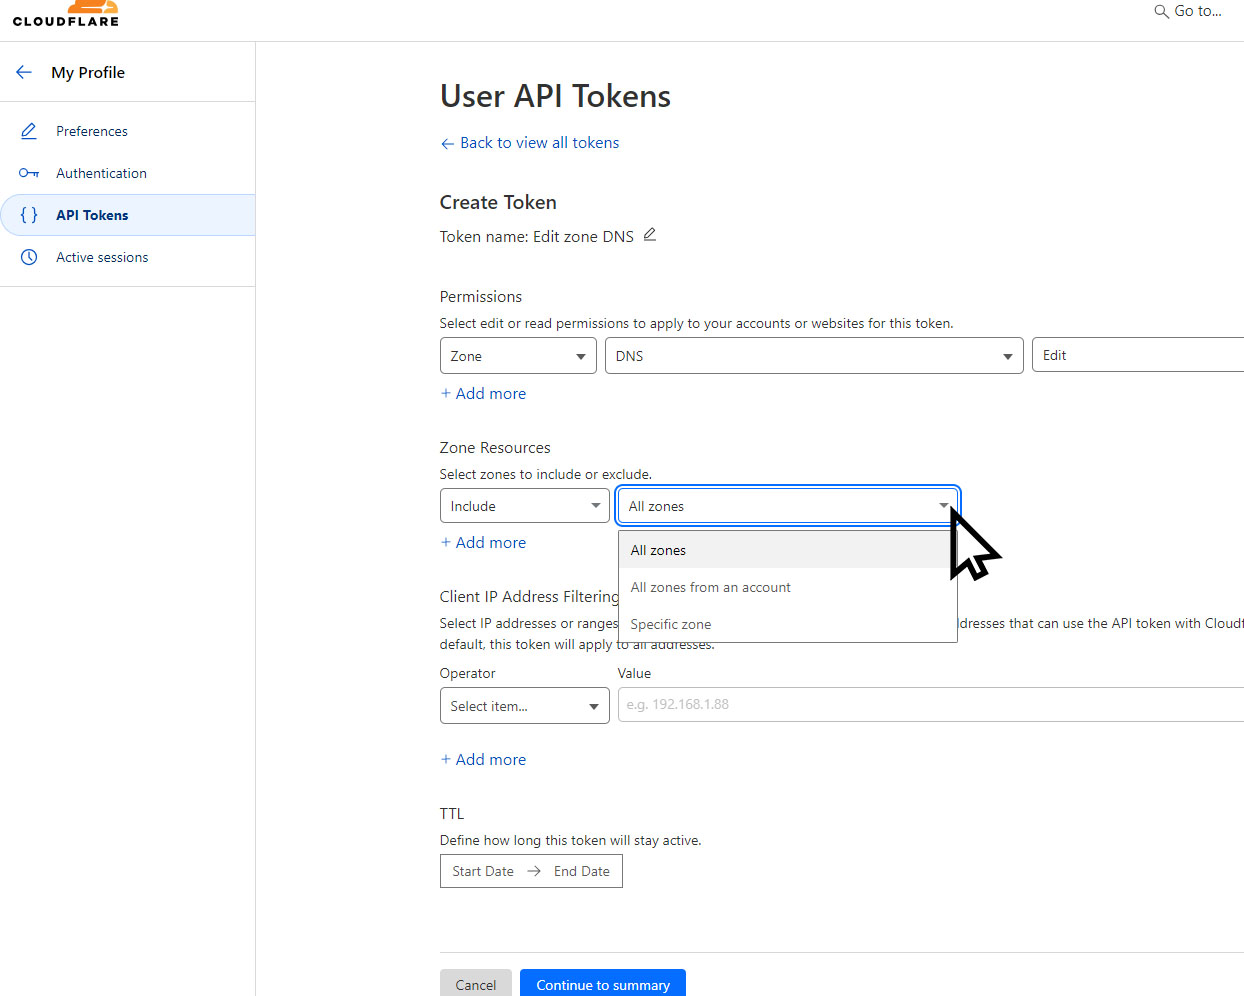
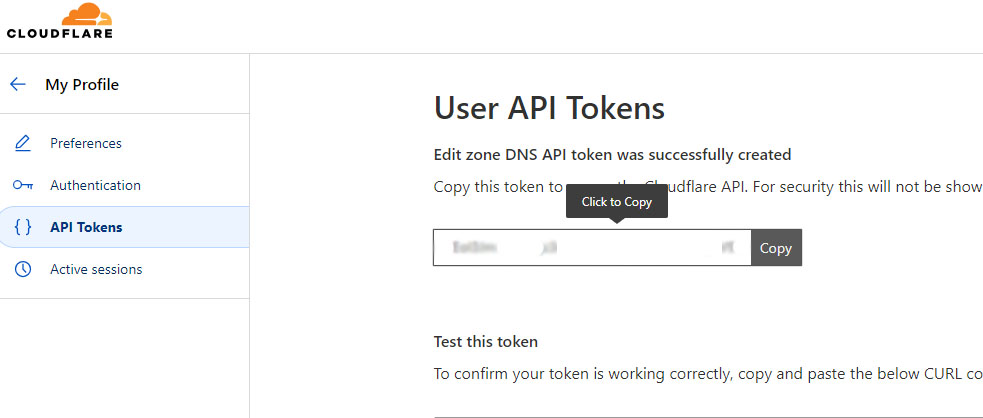
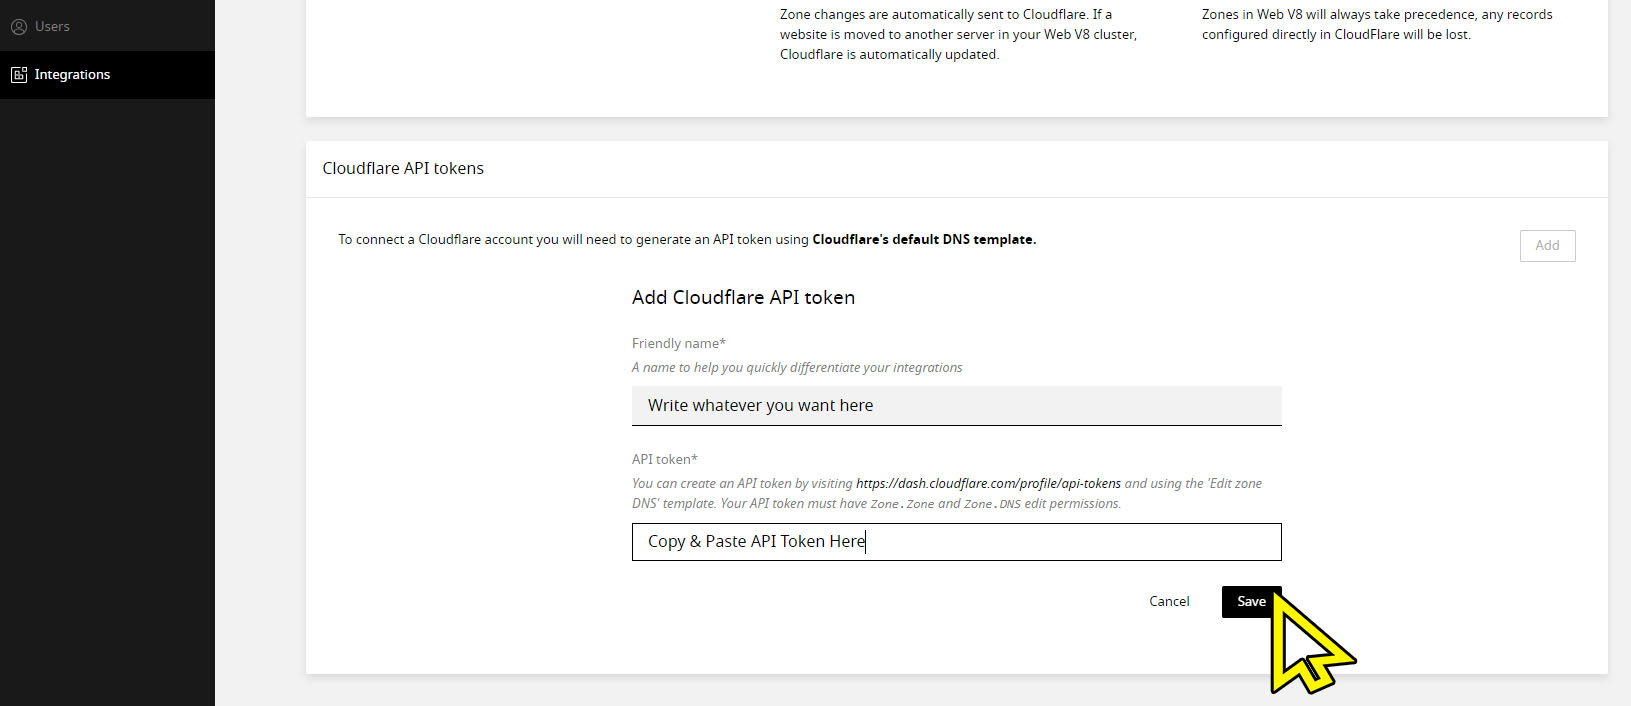
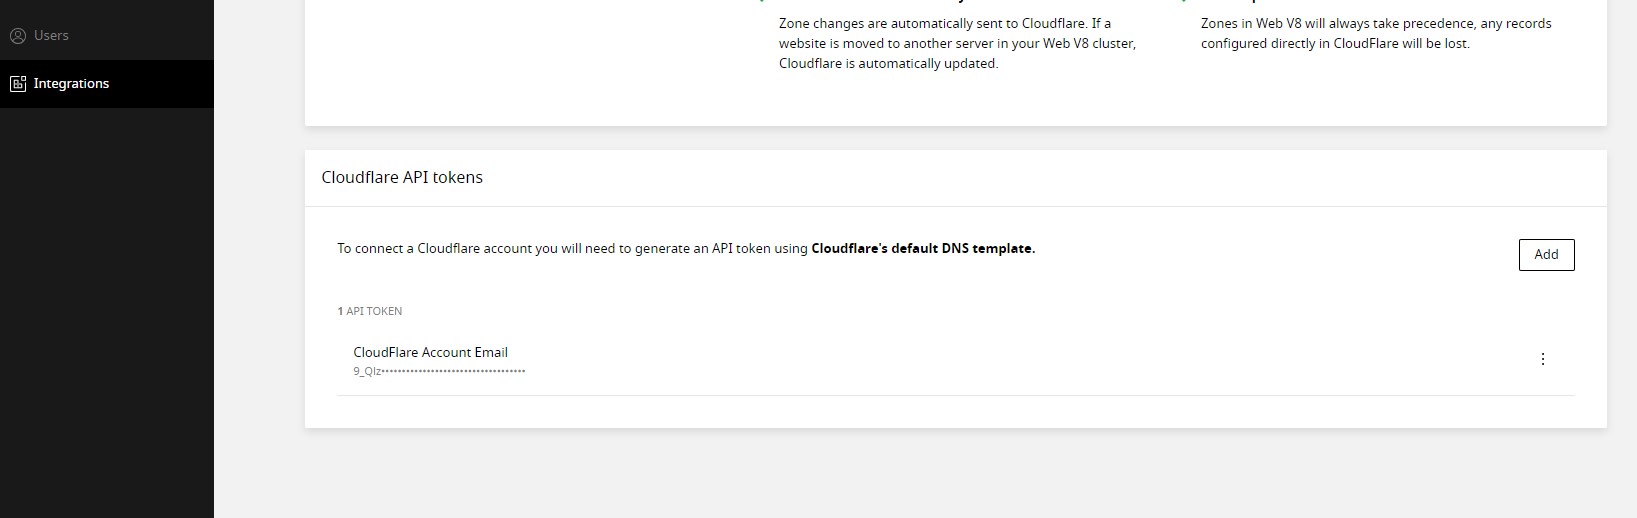
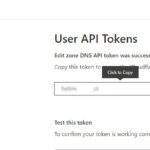
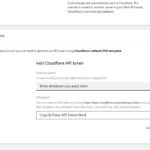
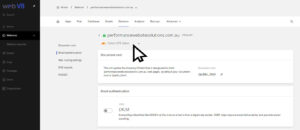
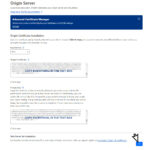
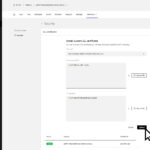
Step 4 – Get your API key
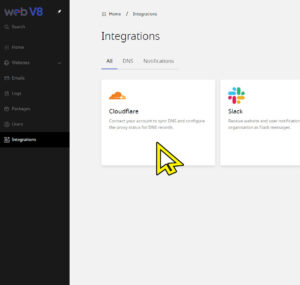
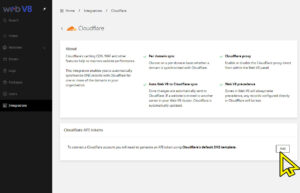
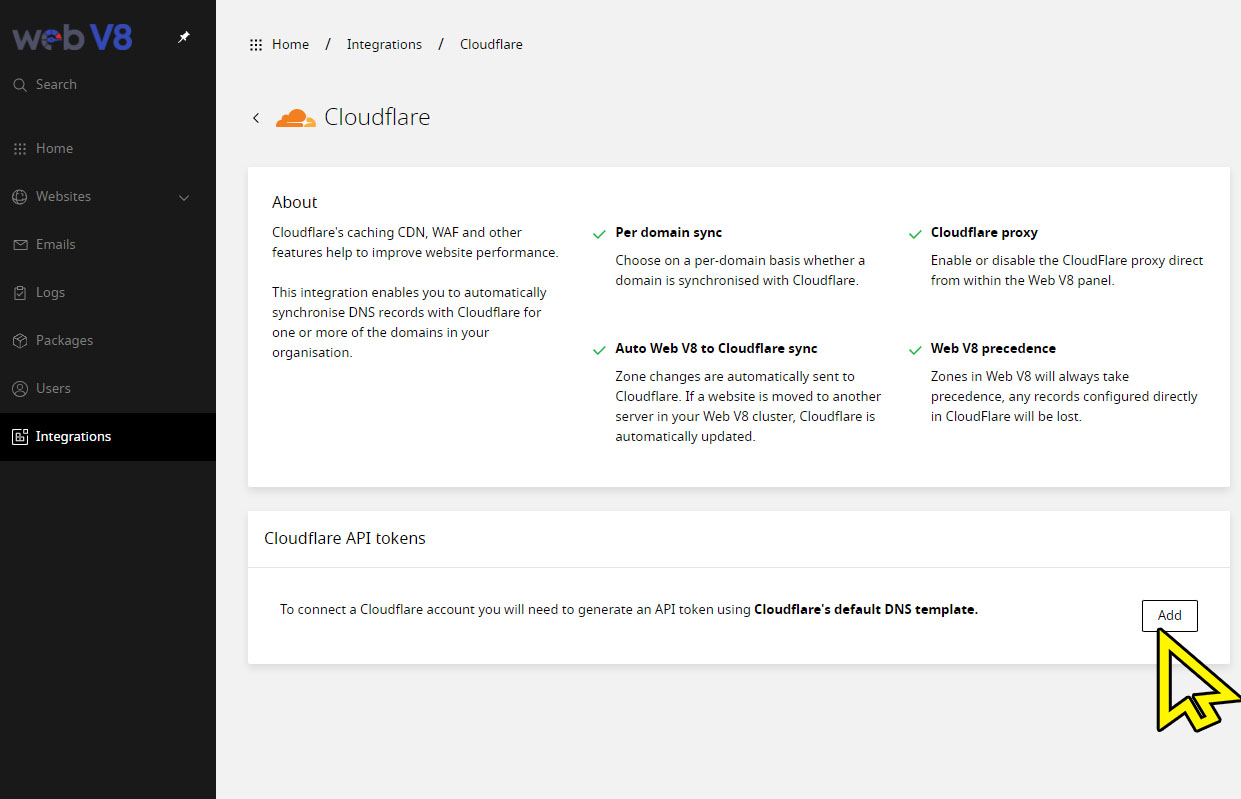
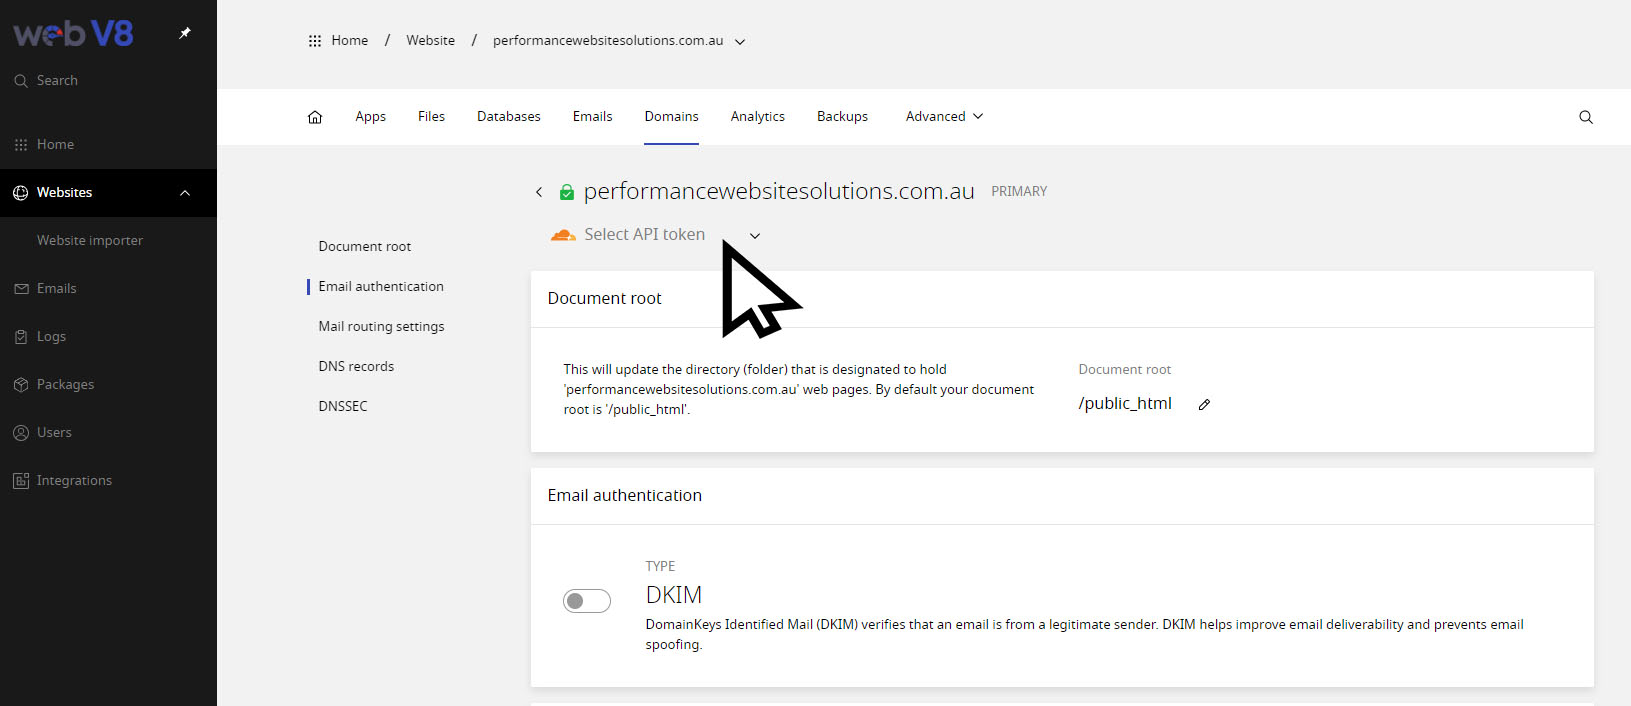
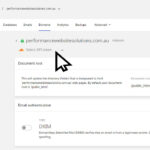
Installing your API key into Web V8


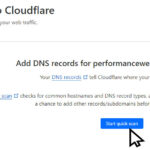
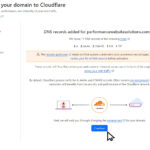
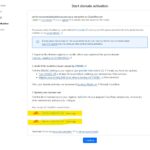
Step 5 – Wait for Activation
It usually takes upto 30 mins (but can take up to 48 hours)
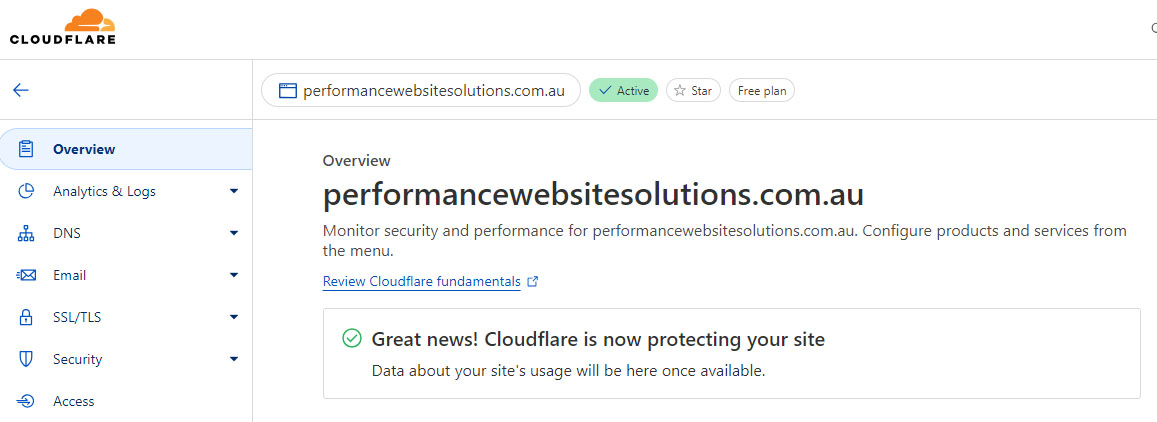
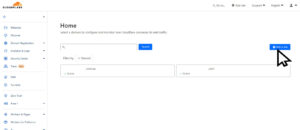
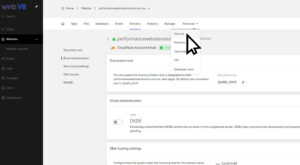
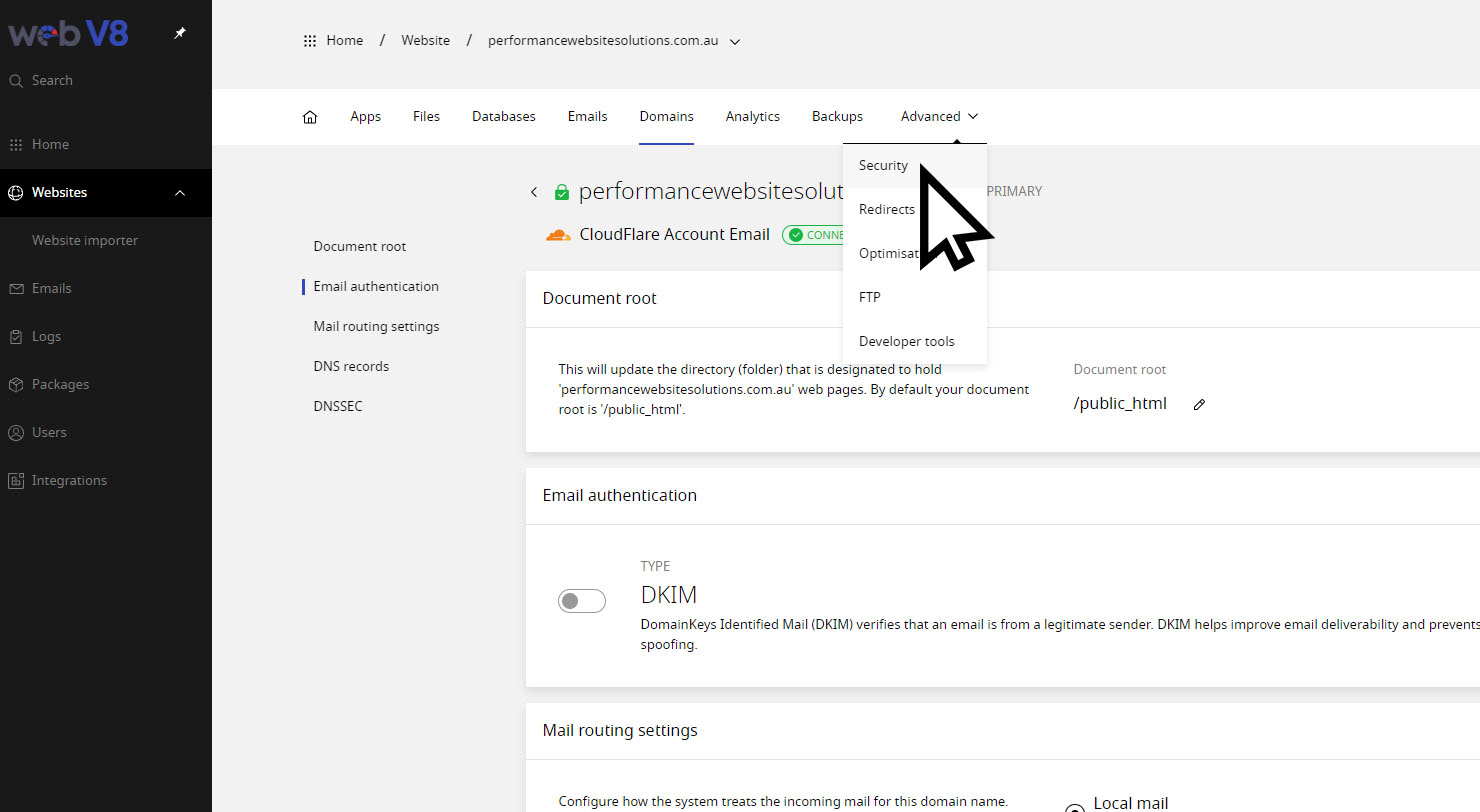
Step 6 – Enabling CloudFlare
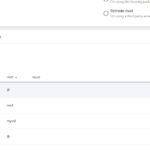
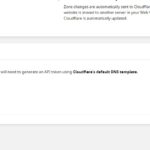
Web V8 hosting actually managed and controls your CloudFlare account for you. This means you should not make any DNS changes on your CloudFlare account (for this particular website) as any DNS records on Web V8 will overwrite whatever you have in CloudFlare beforehand.

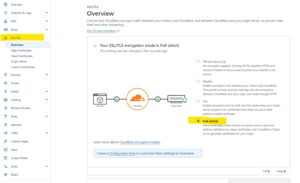
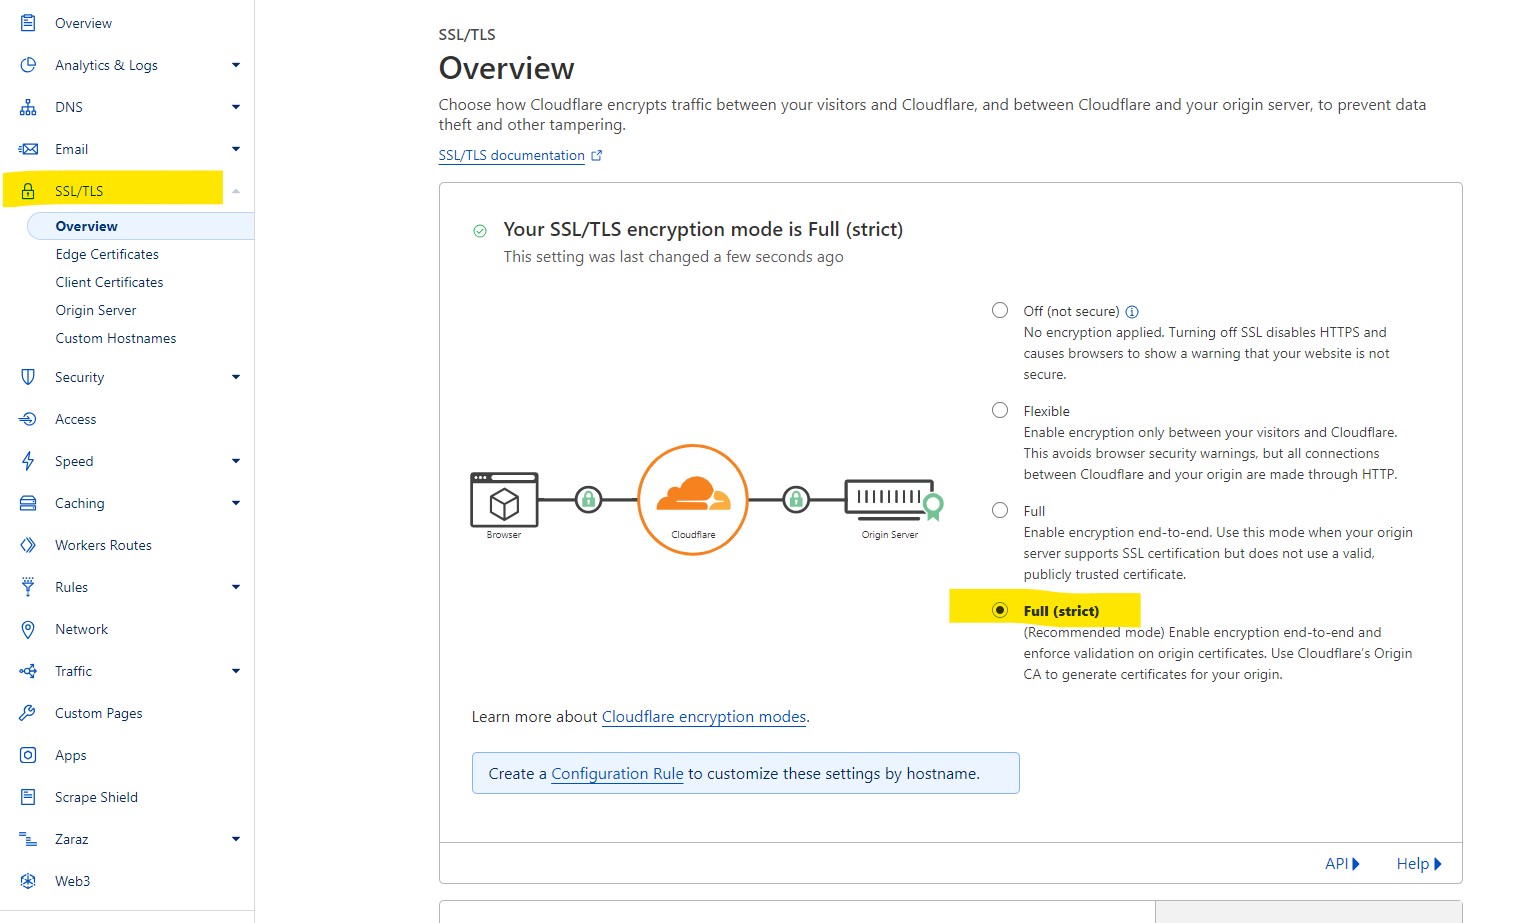
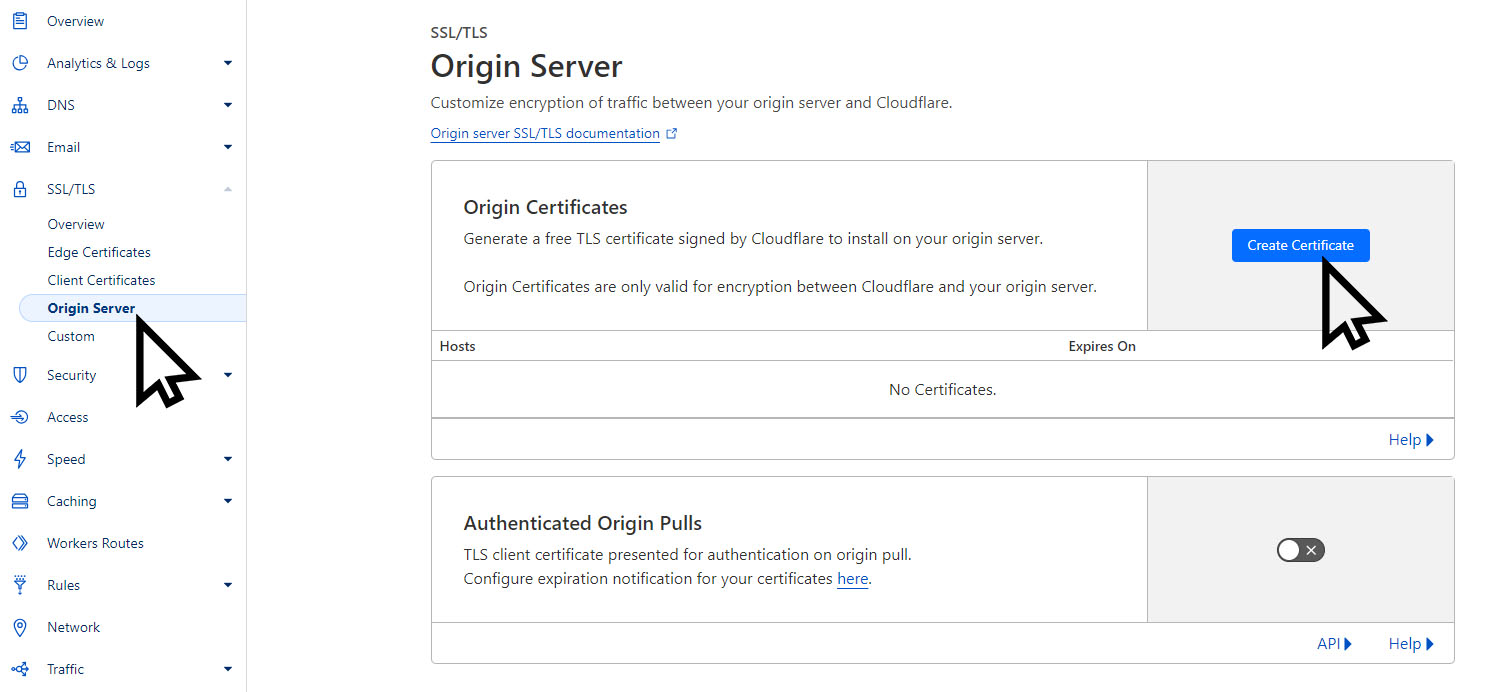
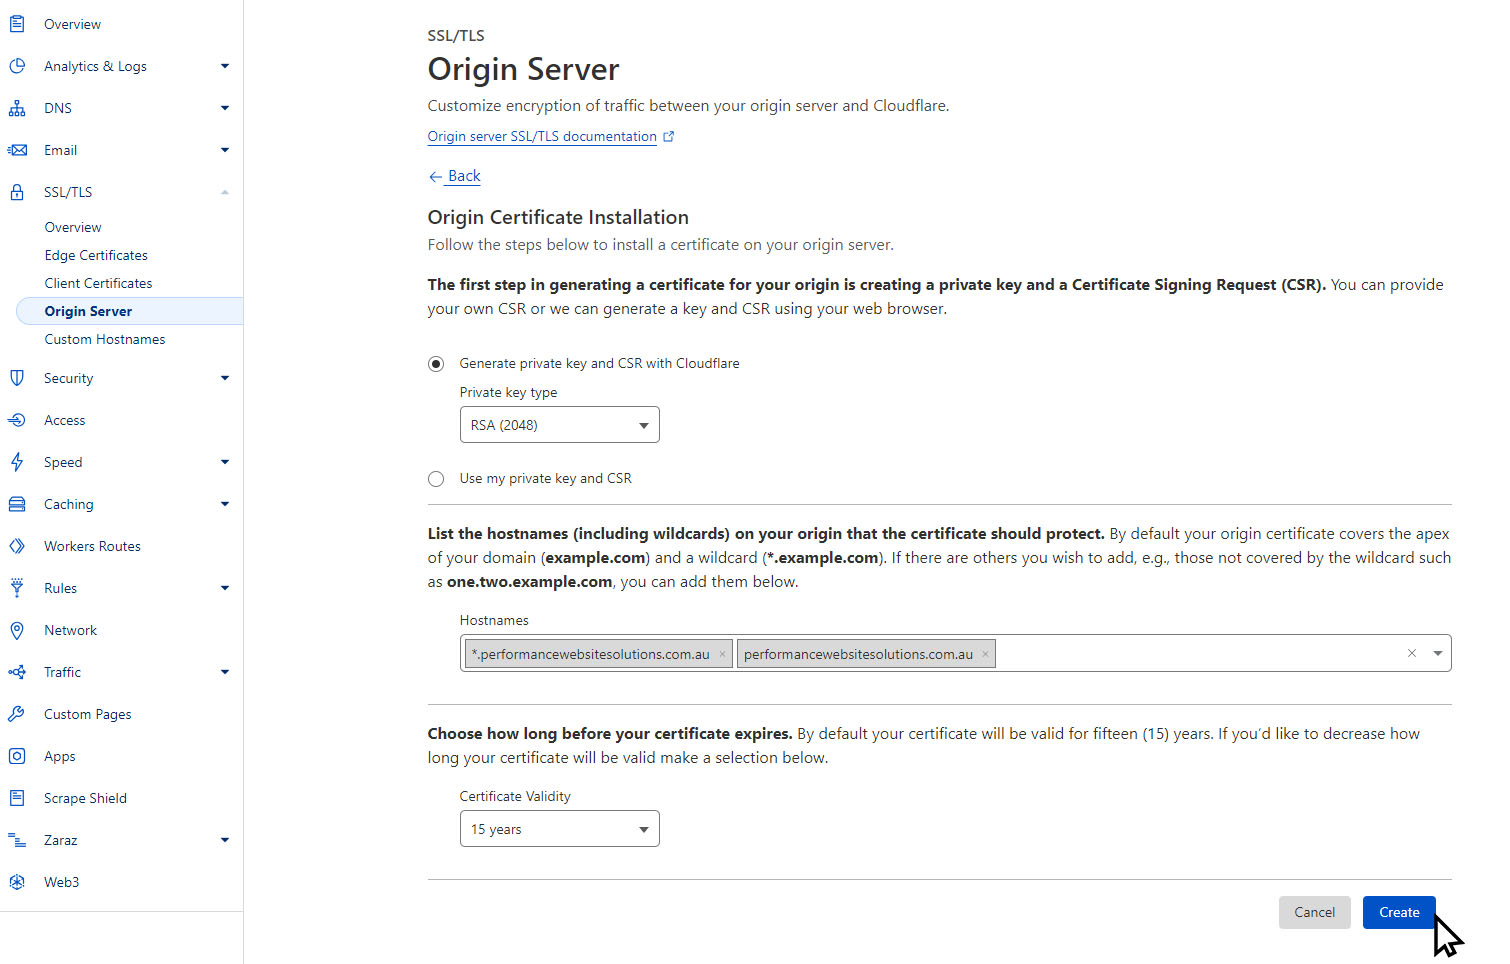
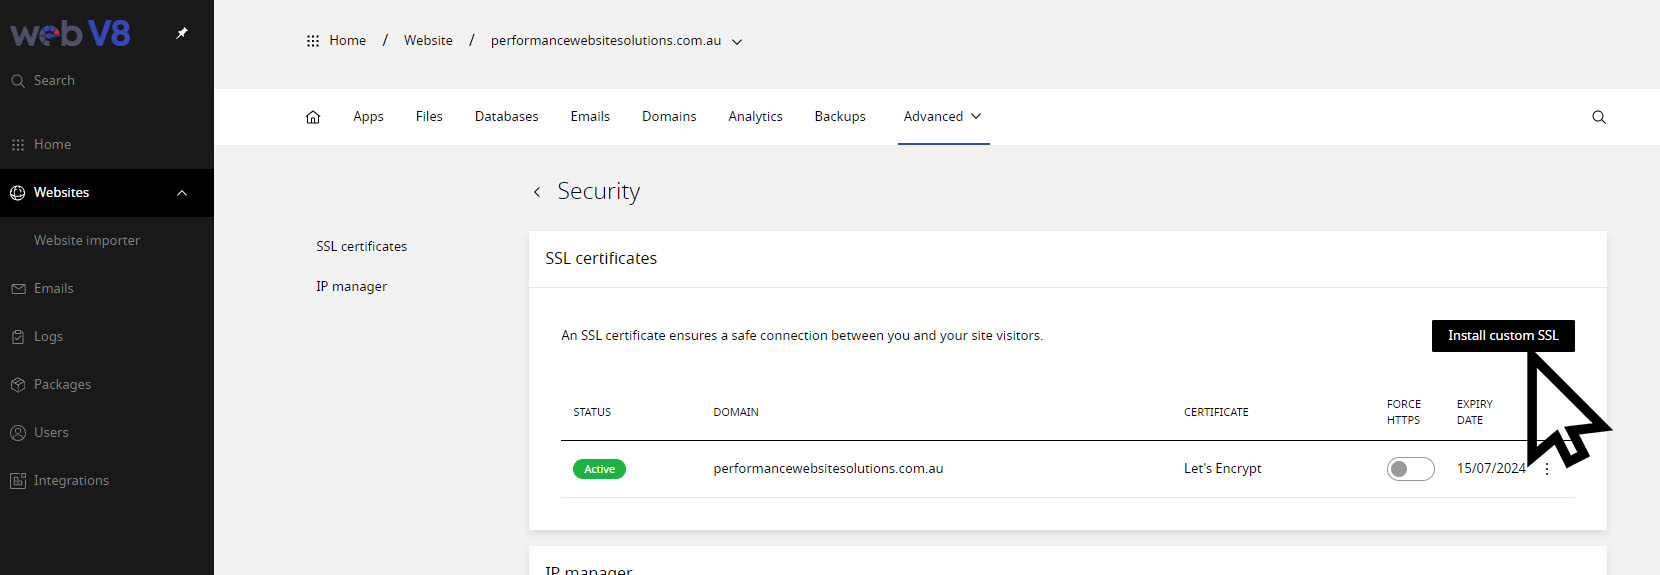
Step 7 – Generating CloudFlare SSL
Let’s generate a CloudFlare SSL Certificate on the CloudFlare Dashboard.


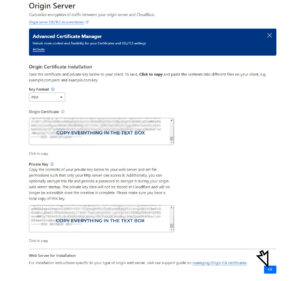
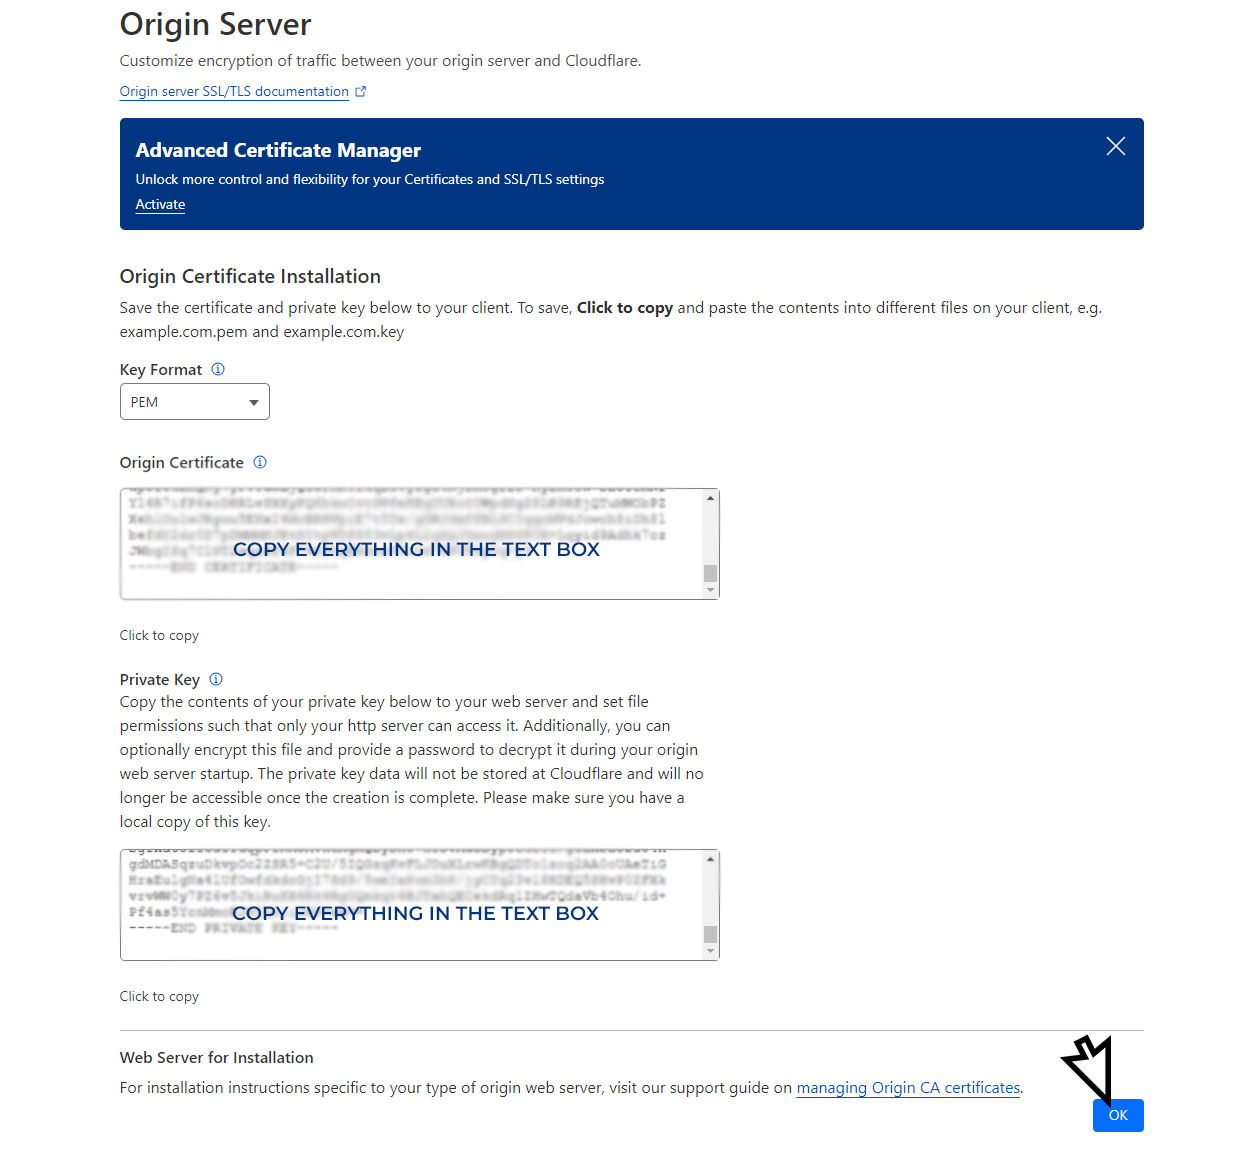
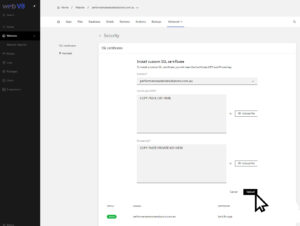
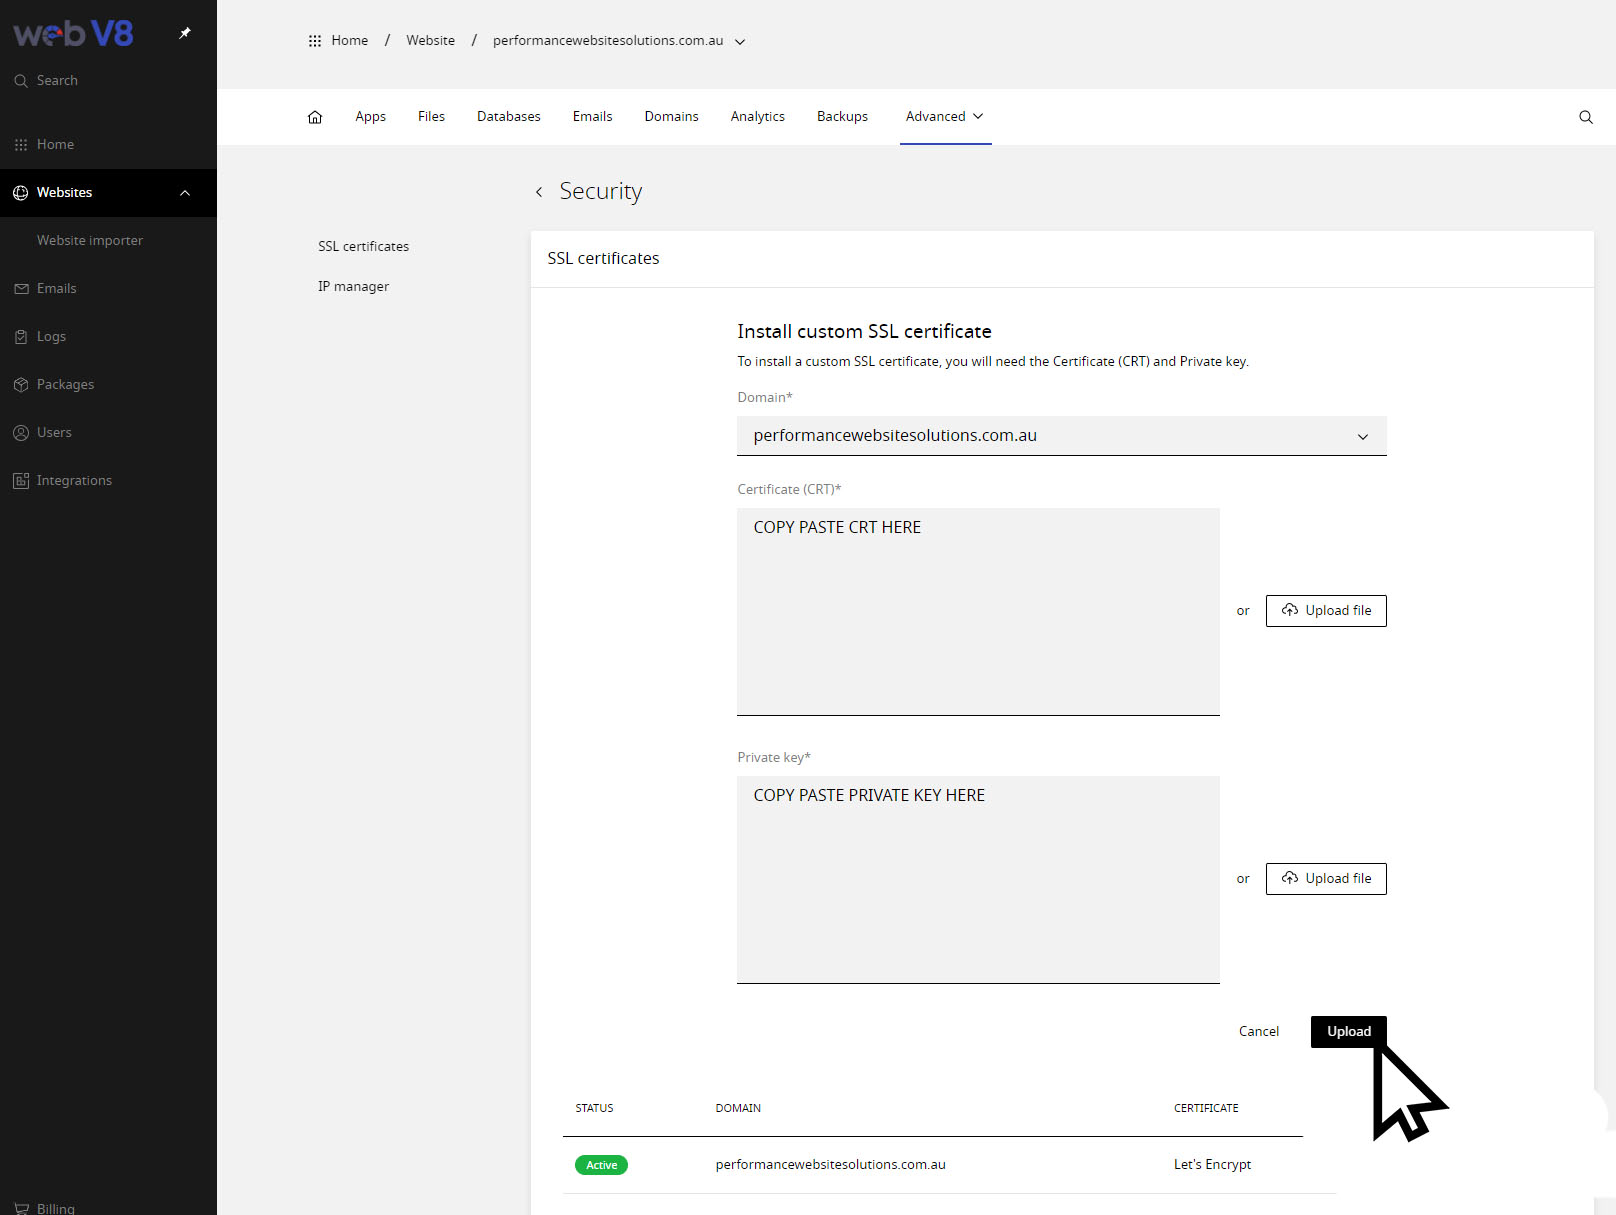
Step 7 – Installing SSL
Now we need to install the CloudFlare SSL into our Web V8 Dashboard

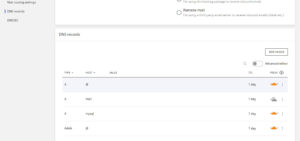
Step 9 – Enabling it all
We’re going to enable STRICT SSL settings on CloudFlare and Enable Proxies on our website DNS records here.
DO NOT ENABLE PROXY ON ANYTHING THAT SAYS “MAIL”